
A beginner's guide to Arc Raiders
Whether you’re new to the genre of extraction shooter or familiar with it, one thing is certain. Arc Raiders provides an intense and immersive experience from the get-go.
In this article, Sports News Blitz’s Ryan Preston, aka “Prestonie,” gives advice to new players on Arc Raiders.
Getting started
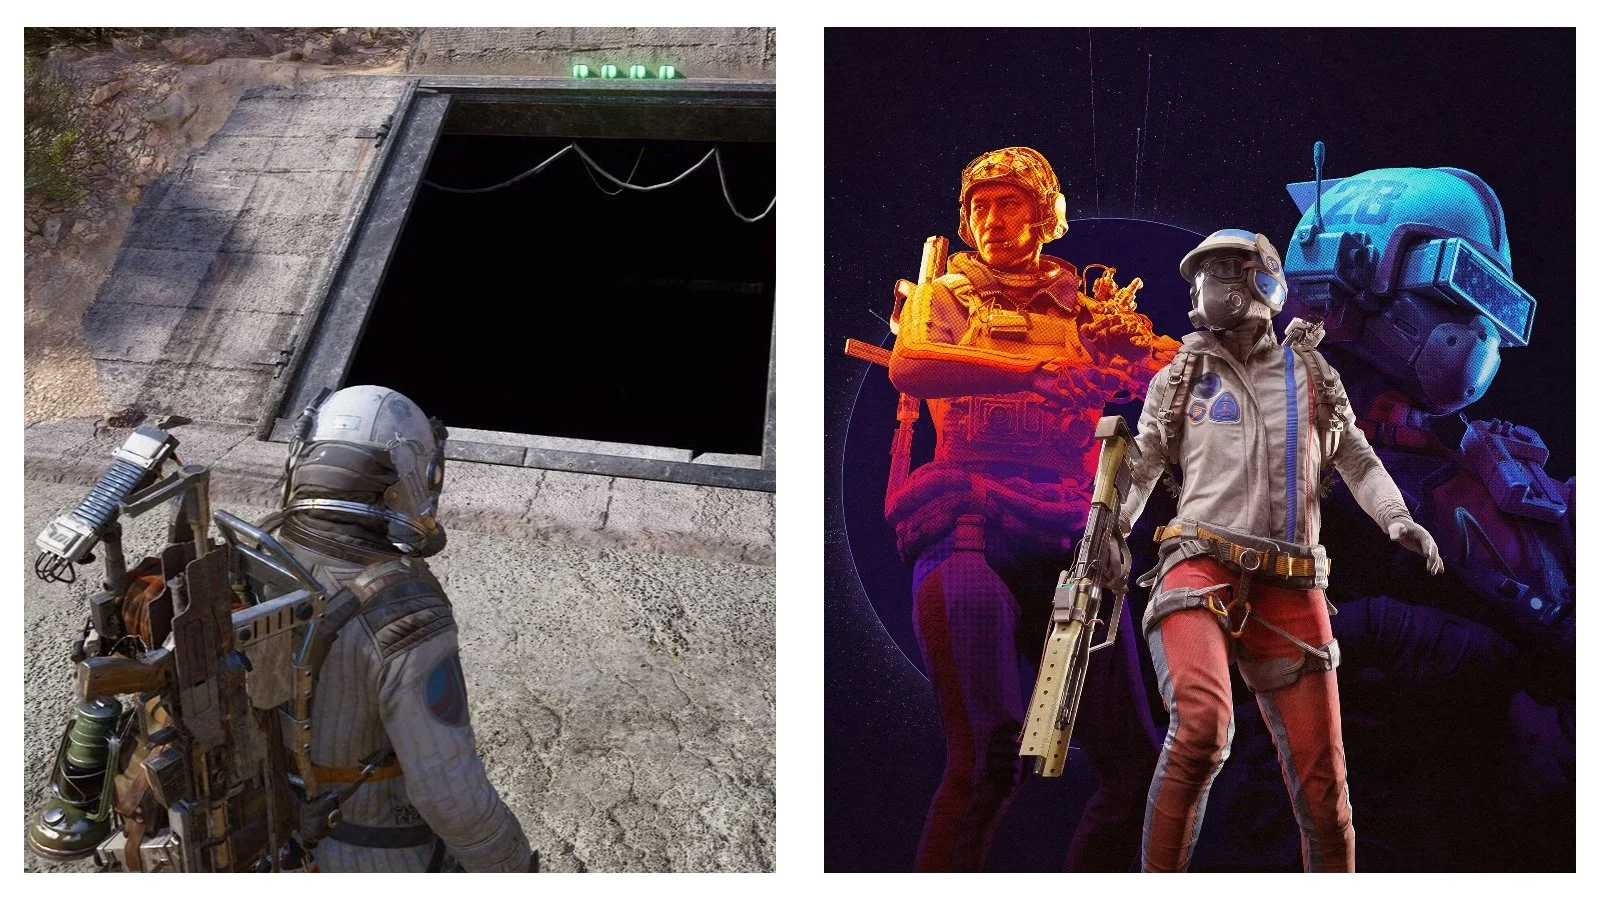
You start off loading up the game, and instantly, you’re provided with a cinematic and beautiful cutscene showing lonely figures wandering through post-apocalyptic environments.
Soon after, as with most games, you’re going to do a short tutorial covering the basics of movement, combat and looting.
If you’re anything like me, you’re really wishing there’s a skip button to just jump straight into the action.
Trust me, there’s going to be plenty of action.
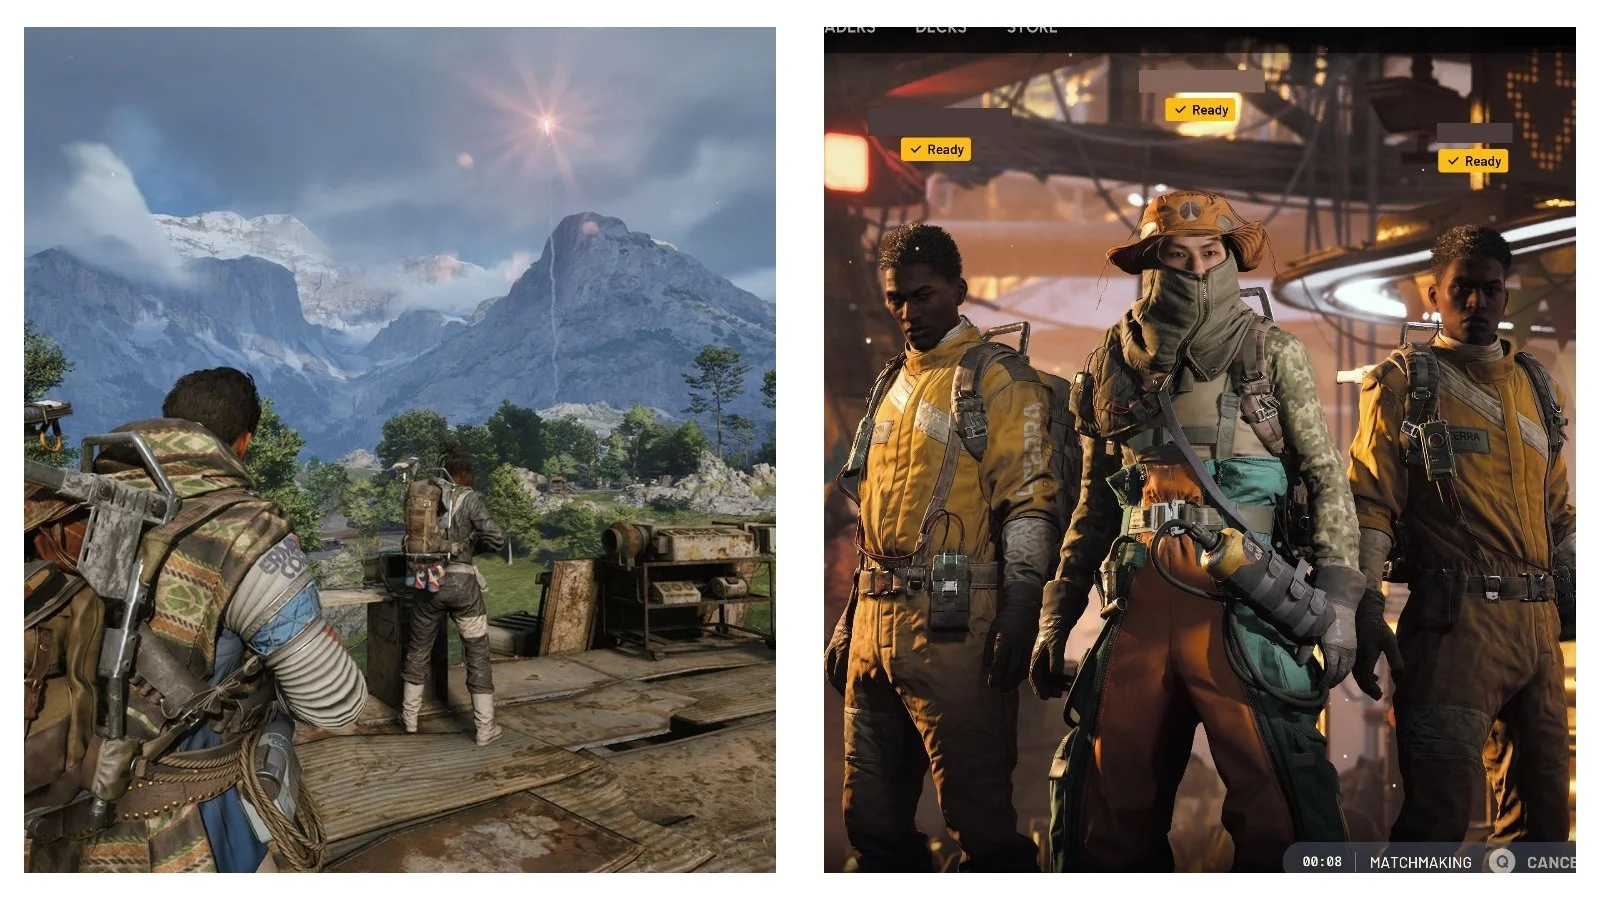
So, where do you start, and what should your focus be when you enter that underground shuttle and leave the safety of Speranza for the first time?
Looting, loadouts and early priorities
Exploration and looting everything is the simple answer. You will need to gather the materials required to gain Scrappy the chicken, your ever-helpful little collector.
I highly recommend using free loadouts to start.
Unlike other extraction shooters, Arc Raiders is generous. A free gun, shield and small backpack with some useful items such as bandages, shield charger and if you’re lucky, a grenade or two.
On a successful extraction, you can swap your free augment in your inventory to Lance the trader, so rather than selling or recycling, pay him a visit.
Each loadout randomly equips a starting weapon listed below.
Weapons
Ferro - A single-shot rifle with high damage and fantastic range, with the downside being a relatively slow reload time, but by far one of the most useful guns in the game and great at taking down pesky drones such as the Wasp or Hornet. (just don’t miss)
Stitcher - A small submachine gun with a high rate of fire and decent reload speed. Excellent at shredding through other players (my personal favourite)
Kettle - A single-shot semi-automatic with a longer reload time than the stitcher. It also holds its own well against players, and if you’ve a nifty trigger finger, terrifying.
Rattler - An automatic rifle, packs a punch but with only 10 bullets in the chamber on a free loadout and a little difficult to aim. Probably my least favourite overall.
So now you’re familiar with your weapons, where do you go?
READ MORE: Gaming news: Arc Raiders - New game or new business?

Where to explore and what to prioritise on the map
Well, essentially anywhere, at least to begin with. Go explore that map!
Embark Studios have done a wonderful job at hiding little pockets of loot around the map. I’ve even found a hidden container within a rock before, so always keep an eye out for that little white circle that brings up the word “search”
“But Prestonie, what loot should I take?” Don’t worry, I hear you. The biggest downside to a free kit, limited spaces and low carry weight mean optimisation quickly becomes a priority.
So here are a few useful things you will want to take...
Useful materials
Springs - (Around the map, in containers and recycling certain weapons)
Simple gun parts - (In certain containers, Arc robots and recycling tier 1 and 2 weapons)
Arc powercells - (By killing Arc robots)
Seeds - (Useful trading item)
Rubber X
Plastic X
Chemicals X
Metal parts X
Fabric X
Greater Mullein - (Found mostly by rivers or in certain buildings’ plant pots)
Blueprints - (Most important single pieces of loot you can hope for)
Arc Alloys - (Unsurprisingly found by killing Arc robots)
Other materials you will find with a green tag on them can be recycled in-game to break them down into those listed with an X.
This is especially useful as they are often lighter than the components themselves. However, recycling in the game provides fewer materials than when you’re back safe in Speranza, so only do this if you need the space/weight.
All of these items listed allow you to remake and upgrade guns, ammo, shield rechargers, and bandages. Everything you need to continue your next run.
So you’ve now successfully done multiple runs and can no longer hold any more materials. It is time to start selling excess or profitable items.
To do so, simply right-click on the item and click on sell. You can upgrade your stash to hold a maximum of 280, though this will likely take a while as each upgrade increases in price.
Just be mindful not to sell useful things such as components required for either building or upgrading your workbenches.
YOU MAY ALSO LIKE: Gaming opinion: Arc Raiders tips and hints - To kill or not to kill?
Workbenches
Building and upgrading your workbenches should be priority number one after gaining Scrappy (search residential areas for the elusive cat collar).
Below are the workbenches you can unlock:
Gunsmith
Gear Bench
Medical Lab
Explosives station
Utility Station
Refiner
The gunsmith, medical lab and explosives station are literally what's written on the tin. So there’s no need to go over them.
Now, you would think the gunsmith would be where you create ammo, but no.
It’s the gearbench, though this is a courtesy by Embark Studios, as it's the only workbench the game provides from the beginning.
It is also the one that lets you make shield rechargers and augments, which provide you with extra carrying capacity and the ever-important safety pocket - If you die in the game, anything in your safety pocket returns home with you (sadly, guns don’t fit).
Utility Station - The two most useful things I’ve found for this workbench are the Raider hatch-key and the portable zipline. The hatch-key provides additional exit points on standard maps, so incredibly, incredibly useful.
Refiner - Allows you to use lower-tier components to create higher-tier ones. This one you want to focus on upgrading as soon as possible, as it will unlock better equipment and free up storage.
Quests
The game provides you with quests by visiting the different traders. Each quest provides different materials and items as rewards and requires a different task.
Some of these tasks are as simple as visiting a specific location. I say simple, but one quest I died five times in a row just attempting to cross the map to get there. (RIP)
Later quests start providing you with ever more rare and useful rewards, including the Wolfpack grenade (hold onto these for later, you’ll thank me), while some give you binoculars (still not sure what their obsession is with this one).
Raid, raid and raid some more
The Arc enemies are terrifying enough to begin with, let alone adding the chaos of other players into the mix.
You are going to have good and bad matches. It is just the nature of this type of game.
When you’ve just died five times in a row, it is demoralising, but stay focused and keep a positive attitude.
Your experience and confidence will grow, and progress will be made. Honestly, the level of satisfaction I had taking down some of the larger robots while solo was immense, and I want that for you, too.
Good luck out there, raiders!
READ NEXT: Ella Stevens and Ella Häkkinen join McLaren Driver Development Programme